Want to build a professional-looking website for your coaching institute, IELTS business, online academy, or training center — without spending lakhs on developers?
Good news.
You can build a beautiful education website yourself, even if you are not a technical person.
And no, you do not need coding skills.
In this guide, I’ll walk you through exactly how to use the Starter Templates Plugin in WordPress to create a stunning website in just a few clicks.
The best part?
You can either:
✅ Import a complete ready-made website and customize it later
OR
✅ Design one page at a time using ready-made layouts and sections
Think of Starter Templates like a shortcut to website design.
Instead of building from scratch, you simply choose a professional design and customize it according to your business.
Table of Contents
What is the Starter Templates Plugin?
The Starter Templates Plugin comes with free and paid website templates for almost every category.
Whether you are running:
- An IELTS institute
- A coaching business
- An online course platform
- A training academy
- A consultancy website
You’ll find ready-made templates designed specifically for education businesses.
Instead of spending weeks designing pages manually, you can simply:
Import → Customize → Launch
Simple.
Method 1: Import a Complete Website Template
This method is perfect for you if:
✔ You are creating a brand-new website
✔ You want a professional design quickly
✔ You don’t want to build everything manually
Important Note Before You Start
This method will replace your current website design with a new one.
Don’t worry — your pages usually remain safe.
However, after importing, you may need to:
- Add pages again in menus
- Reconnect footer links
- Rearrange navigation settings
If you already have a website and only want to add a page or section, skip to Method 2: Create a Single Page or Section.
Step 0: Take a Backup (Highly Recommended)
Before importing a complete website template, I strongly recommend taking a backup of your website.
Especially if your website is already live.
Why?
Because importing a complete template can change:
- Website styling
- Homepage structure
- Menus
- Theme settings
A 5-minute backup can save hours of stress later.
You should definitely take a backup if:
✅ Your website already exists
✅ You are unsure what exactly will change
✅ This is your first time importing a website template
Easy Way to Take Backup
You can use free backup plugins like:
Simply install one of these plugins and create a backup before moving forward.
That way, if something goes wrong, you can restore everything in a few clicks.
New website with no content yet?
You can usually skip this step.
But if you are unsure:
Take the backup first.
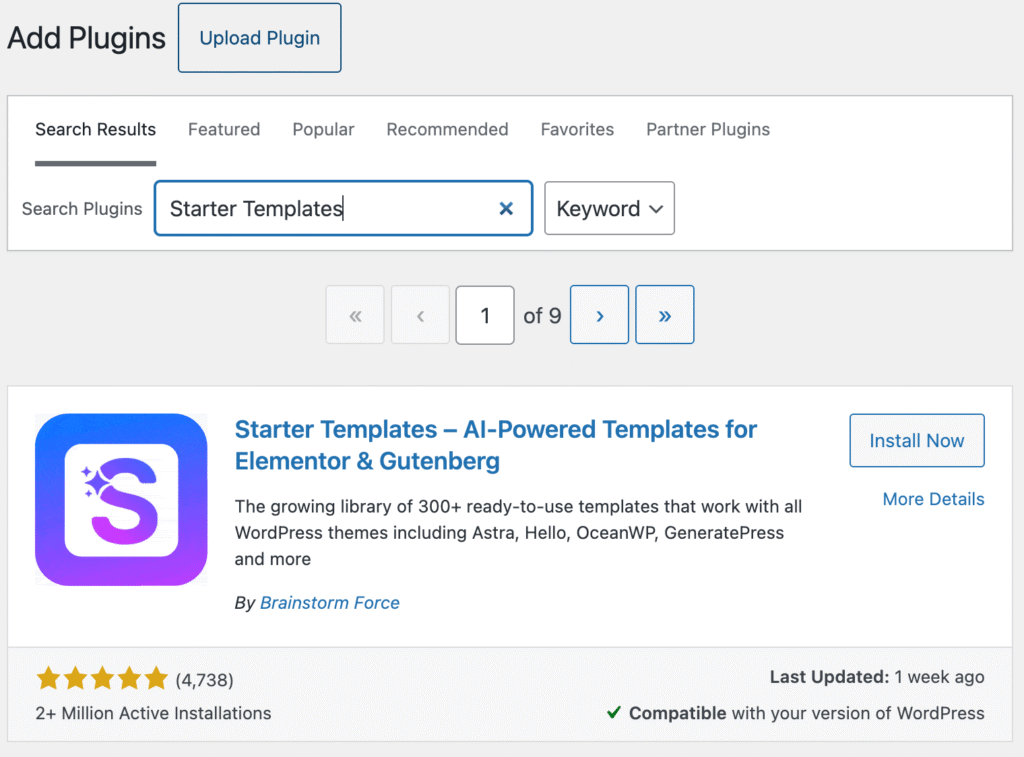
Step 1: Install the Starter Templates Plugin
Go to:
WordPress Dashboard → Plugins → Add New Plugin
In the search bar, type:
Then:
- Click Install
- Click Activate
Done.
You are now ready to start building.
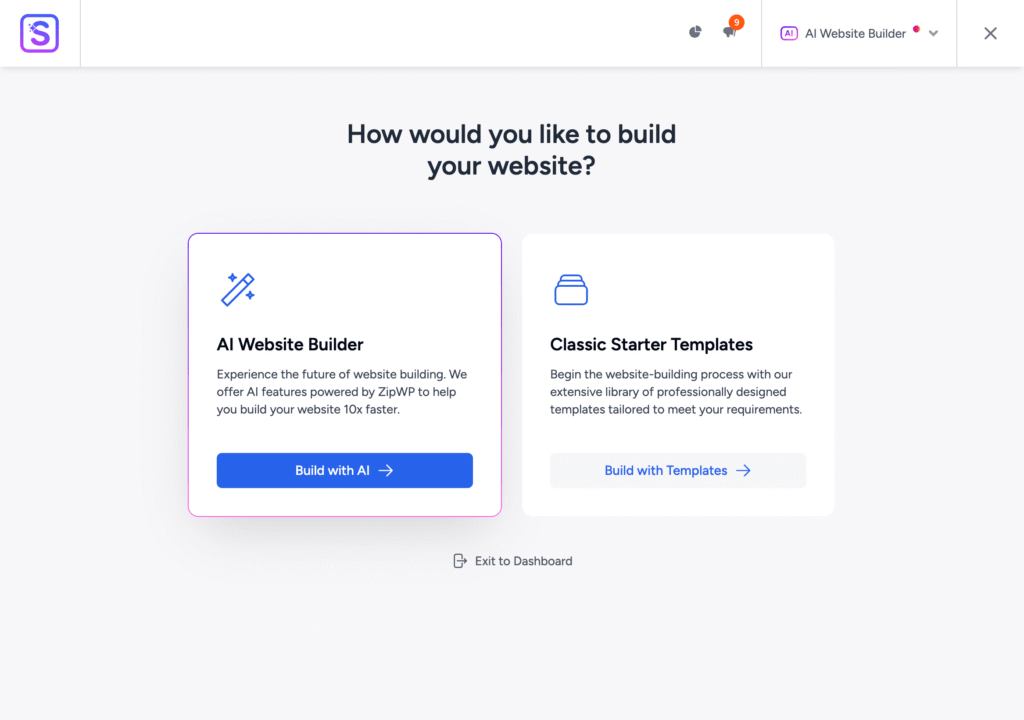
Step 2: Open the Setup Wizard
After activating the plugin, a startup wizard will open.
You’ll see two options:
Build with AI
Build with Starter Templates
For beginners, I recommend:
Choose → Build with Starter Templates
Why?
Because it is easier to control, beginner-friendly, and gives you ready-made professional website designs.
Don’t overcomplicate things in the beginning.
Choose a design close to your business and customize it later.
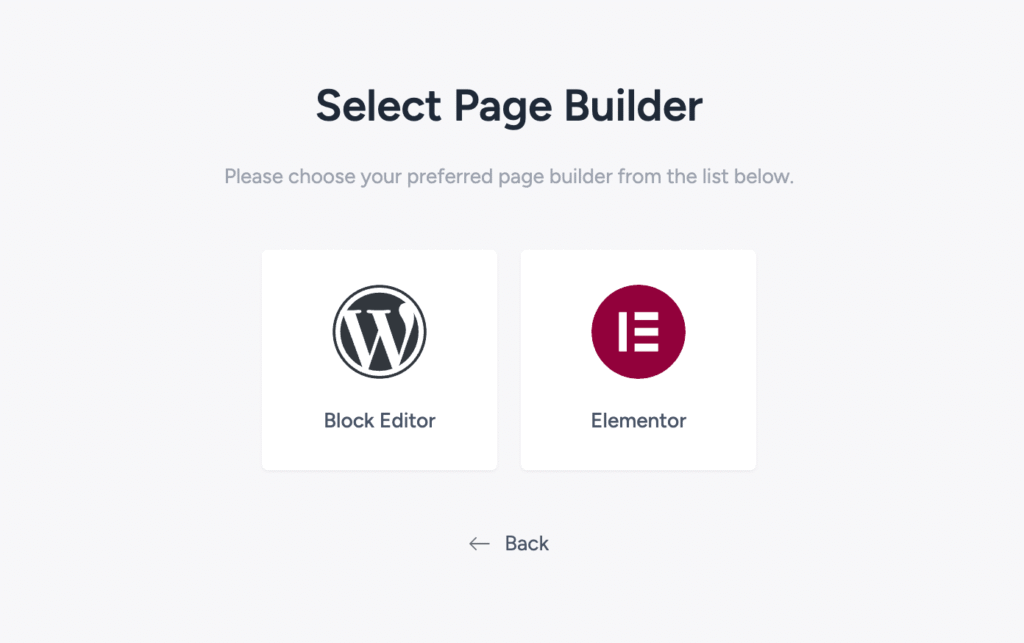
Step 3: Choose Your Page Builder
Next, WordPress will ask:
Which page builder would you like to use?
Select:
Elementor
If you are new to WordPress, Elementor is the best option.
Why?
Because it is:
✅ Drag-and-drop
✅ Beginner-friendly
✅ No coding required
✅ Visual editing
Think of Elementor like Canva for websites.
You simply click and edit things visually.
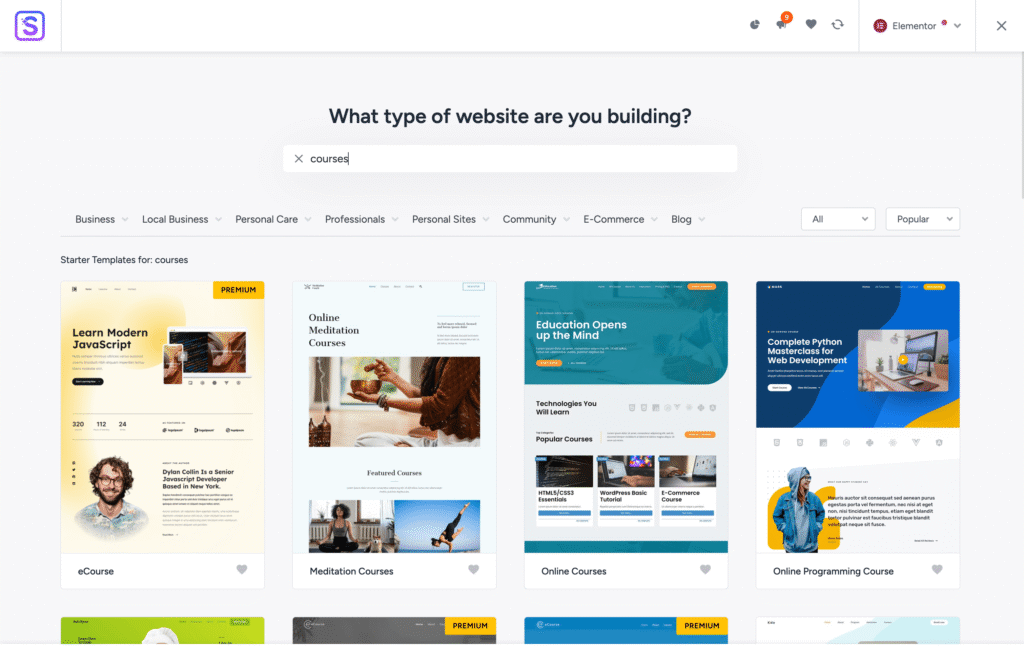
Step 4: Choose an Education Template
Now comes the exciting part.
Use the search option and type:
Courses
OR
eLearning
This will show education-related templates.
You’ll find templates for:
- Online coaching institutes
- Trainers and coaches
- Education websites
- Course businesses
- Academies
Browse through the designs and select the one you like.
Don’t stress too much about choosing the “perfect” design.
Remember:
Your website doesn’t need to be perfect on Day 1. It just needs to look professional and trustworthy.
Once you find a template you like:
Click → Select Template
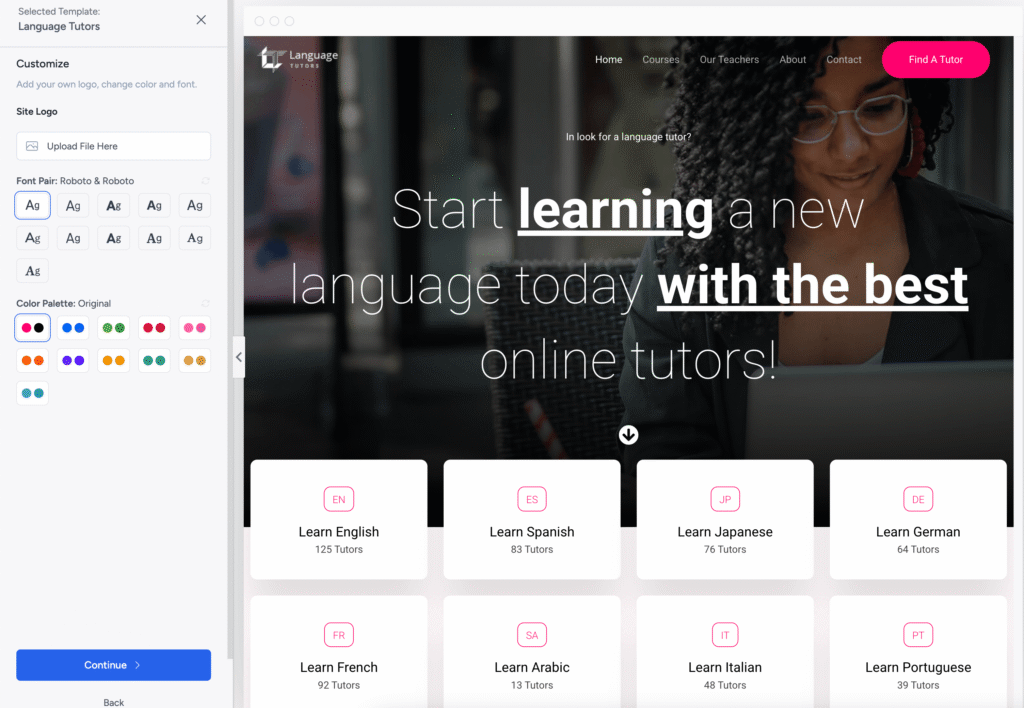
Step 5: Customize Your Branding
The setup wizard will now ask you for a few customization options.
Add Your Logo
Already have a logo?
Upload it.
Don’t have one yet?
No problem — skip it for now and add it later.
Choose Typography & Styling
Select your font style and color preference.
For coaching and education websites, clean and simple designs usually work best.
Try:
- Professional fonts
- Minimal colors
- Clean layouts
Avoid using too many colors.
Simple websites usually look more premium.
Step 6: Skip Additional Plugins
The next screen may suggest additional plugins.
For now:
Click → Skip
You can always install them later.
Many beginners install too many plugins and end up slowing down their website.
Golden Rule: Only install plugins you actually need.
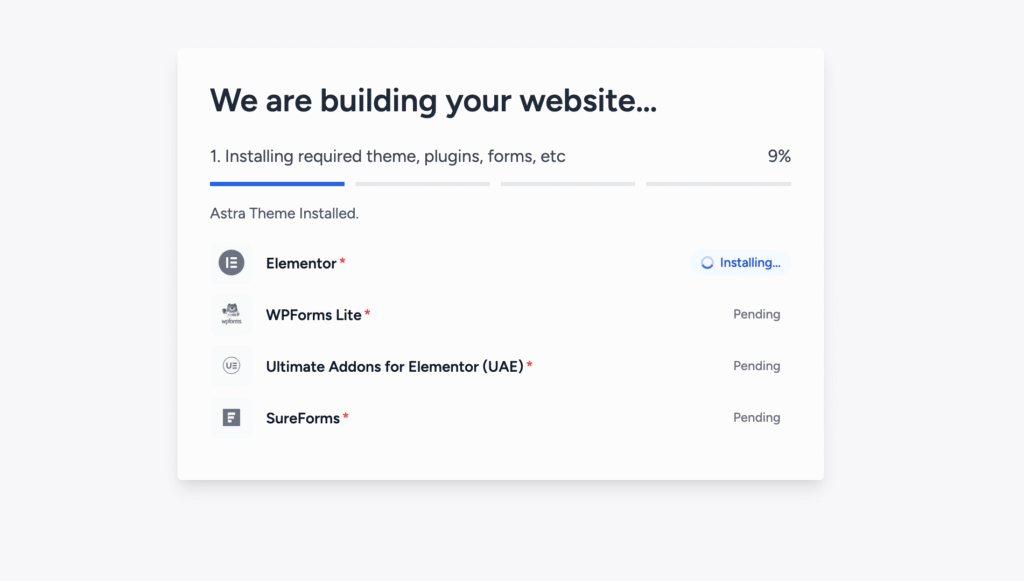
Step 7: Start Importing Your Website
Now click:
Start Import
The template will begin importing.
This can take a few minutes depending on:
- Internet speed
- Hosting performance
- Template size
Sometimes, a template may ask for extra plugins.
If that happens:
- Open WordPress dashboard in a new tab
- Install the required plugin
- Return to setup
You usually won’t lose your progress.
If you don’t want to install those plugins right now, you can also skip them and activate later.
Step 8: Preview Your Website
Once the import finishes:
Congratulations 🎉
Your website is ready.
Now take a look around.
You can:
- Replace demo text
- Upload your own images
- Add your courses
- Update contact details
- Change buttons and content
And yes…
You now have a professionally designed website.
Without hiring a developer.
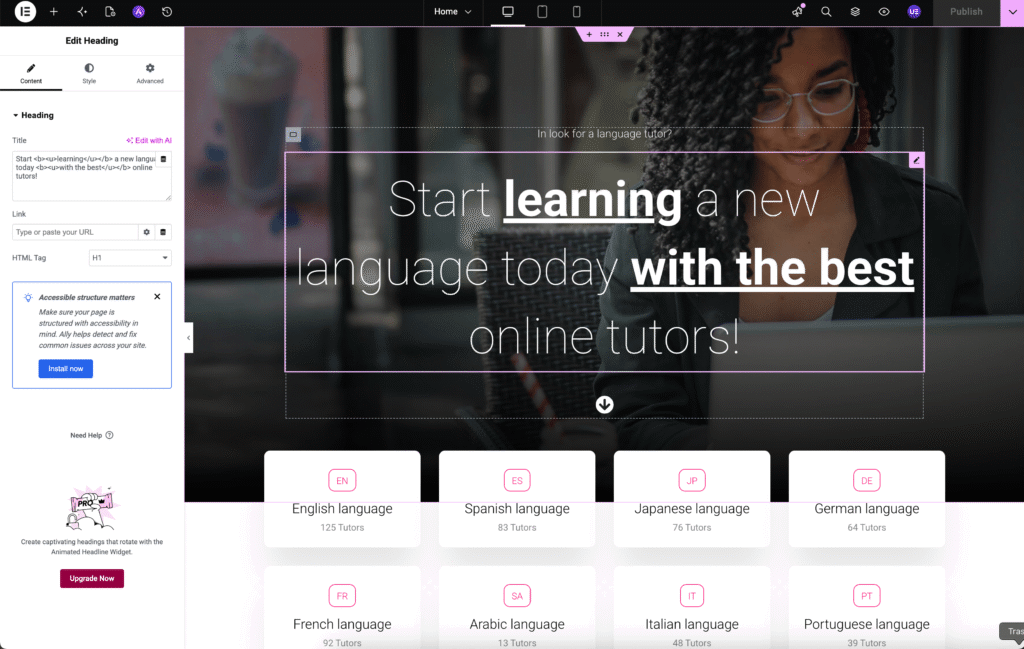
How to Edit Your Website with Elementor
Now let’s customize your pages.
Open any page and click:
Edit with Elementor
You’ll see a visual editor.
From here, simply:
- Click text → Edit it
- Click image → Replace it
- Drag sections → Rearrange them
- Add buttons → Customize them
Everything happens visually.
No coding.
No technical headache.
If you know how to edit PowerPoint or Canva, you can easily learn Elementor.
Method 2: Create a New Page or Add Sections to Existing Pages
Already have a website?
No worries.
You can still use Starter Templates without replacing your entire website.
This method is perfect if you only want to:
✔ Create a new page
✔ Add a homepage section
✔ Improve an existing page
Step 1: Create or Edit a Page
Go to:
Pages → Add New Page
OR
Open an existing page.
Now click:
Edit with Elementor
Important Note
Before continuing, make sure these plugins are installed and active:
✅ Elementor Plugin
✅ Starter Templates Plugin
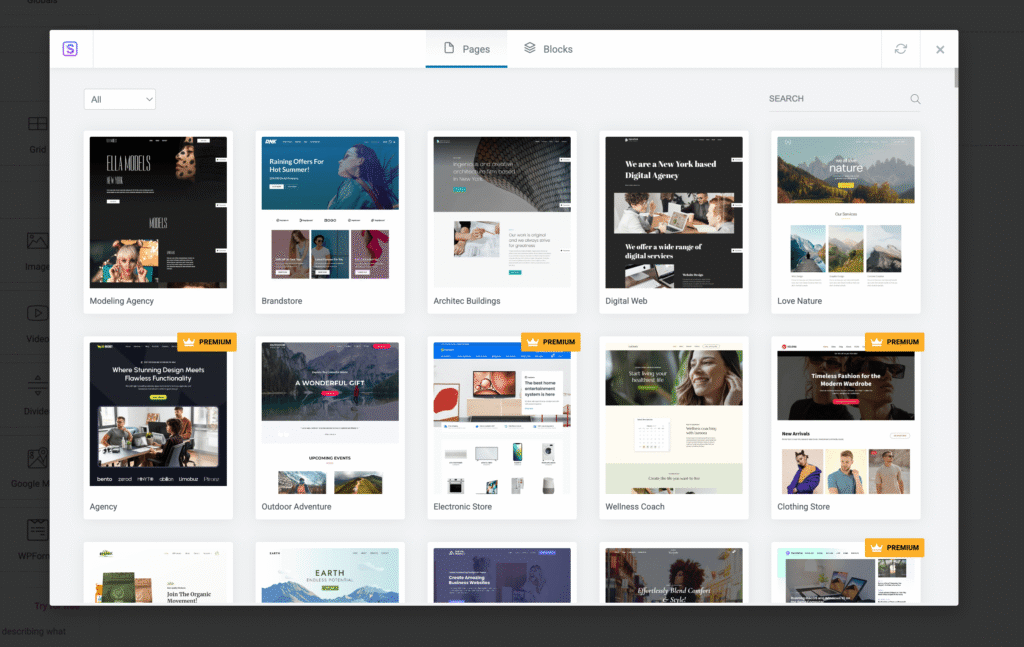
Step 2: Open the Starter Template Library
Inside Elementor, you’ll notice a new icon.
Starter Templates Icon
Click on it.
You’ll now see two options:
Pages
Blocks
Pages
These are complete ready-made page layouts.
Blocks
These are smaller sections you can add anywhere inside a page.
Examples include:
- Testimonials
- Hero sections
- FAQs
- Contact sections
- Call-to-action areas
- Pricing sections
This is honestly one of the easiest ways to build professional pages.
Step 3: Preview and Insert Designs
Browse through different designs.
Preview anything you like.
Then simply click:
Insert
The page or section gets added instantly.
Now:
- Edit text
- Replace images
- Update buttons
- Customize content
Once finished:
Click → Publish
Done.
No coding.
No developer.
Just drag, drop, and edit.
Final Thoughts
I genuinely hope this guide helps you build your website without feeling overwhelmed.
Yes, WordPress can feel a little tricky in the beginning.
There is definitely a learning curve.
But trust me:
Once you understand the basics, WordPress becomes incredibly powerful.
You can create:
- Coaching websites
- IELTS portals
- Online academies
- Membership platforms
- Student dashboards
- Course websites
…and much more.
The best part?
You stay in control of your own business.
No dependency on developers for every small change.
No waiting days just to update a button or page.
Need a WordPress Expert?
Sometimes, you simply want someone experienced to do things quickly.
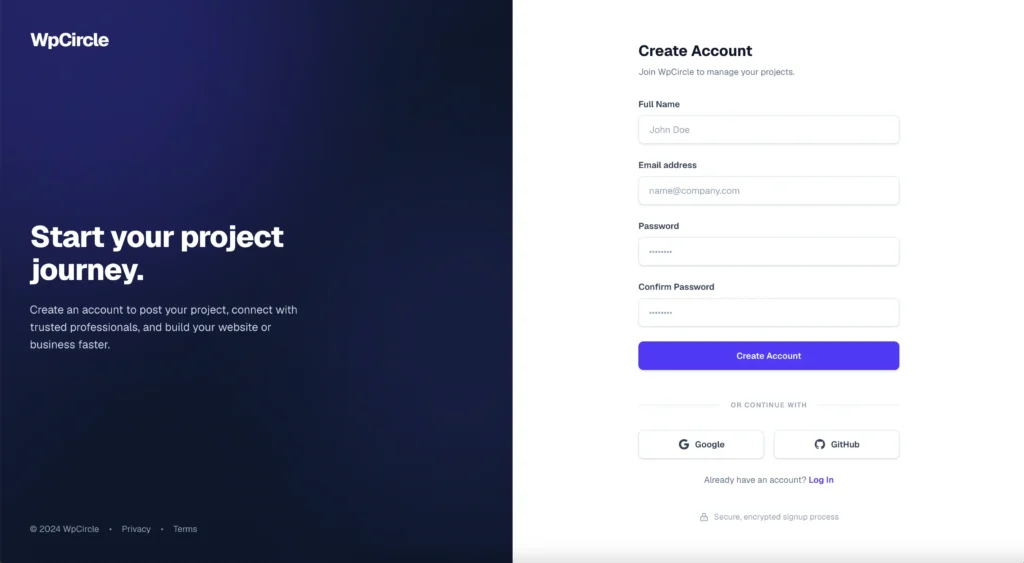
In that case, you can hire WordPress experts from WP Circle — a community where you can:
- Share your project requirements
- Get bids from experts
- Compare developers
- Hire safely
One thing I personally like is their secure escrow payment system.
Your payment stays protected and is released only after you approve the work.
Click here to sign up: https://app.wpcircle.org
Your website doesn’t need to be perfect. It just needs to be started.